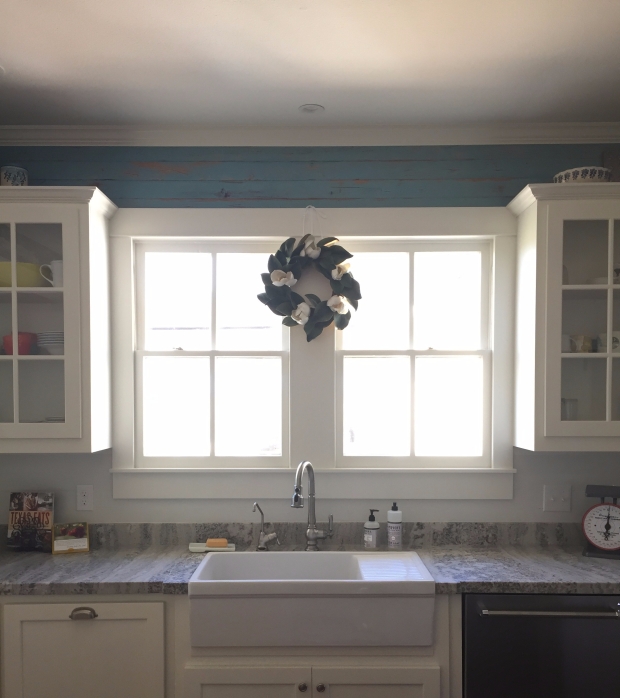
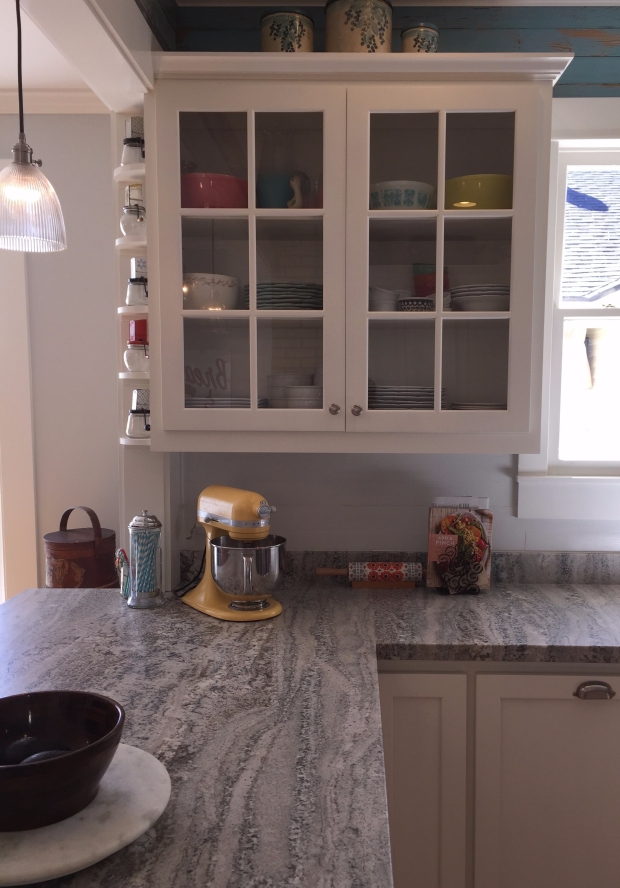
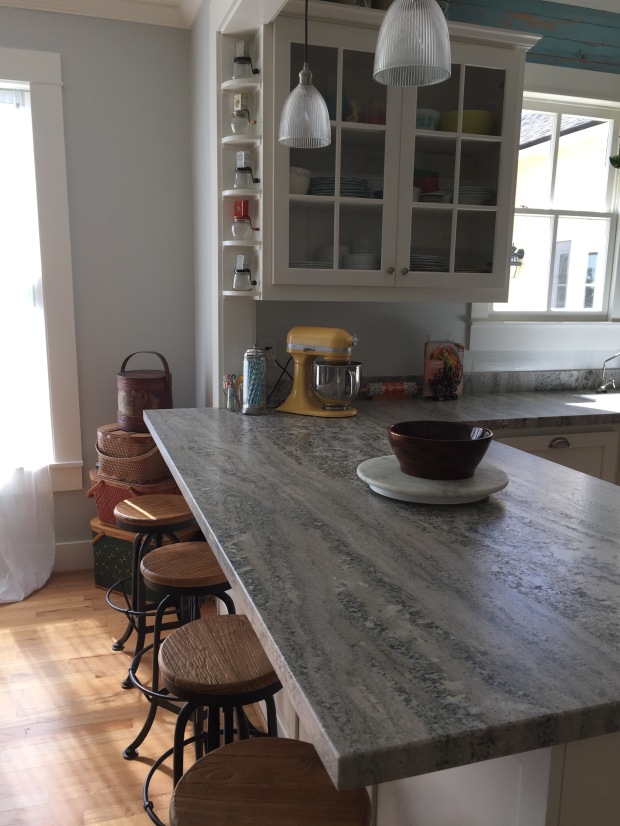
A kitchen is the heart of a home. Here is a snippet of our kitchen as it is now. We love it. Even now, I am smiling, so grateful to have it finished and functioning wonderfully.
The next several pictures are photos of the kitchen process. I will probably do a kitchen part 2 and possibly a part 3, since there was so much involved in the demo, planning and completing stages. At the end of the kitchen segments, I will also include the names of the crews who did the majority of the work, outside of Hubby and I.

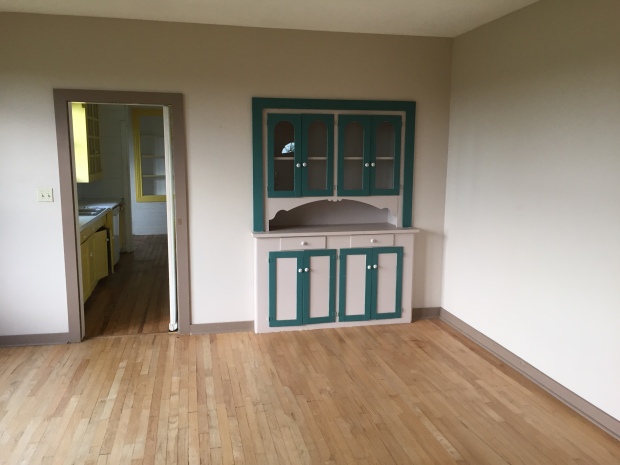
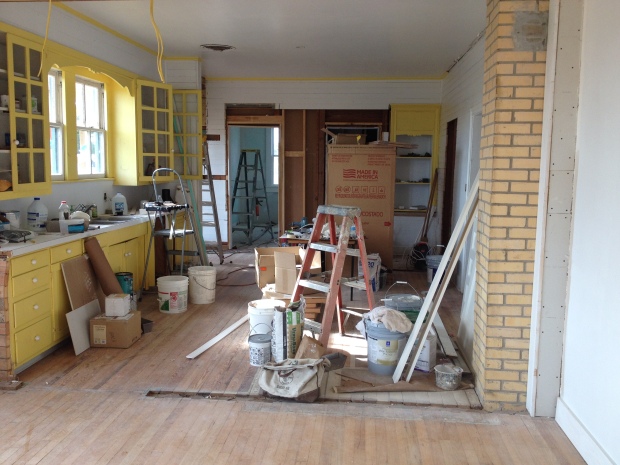
The above picture was taken when we first walked through this house. Originally, I had planned on keeping the upper glass cabinets and soffit to save some money and to keep some of the original character. Joe Perez, of Perez Cabinets, encouraged me to pull the glass cabinets off. He was definitely right! The soffit came down a few weeks after the upper cabinets. Joe came to do kitchen measurements and was really happy we had taken the soffit down. This helped to open up the area around the window. We ended up removing all the wood across the top and were able to use it for floor and wall repair. The bottom cabinets were in terrible shape and had no salvage value.
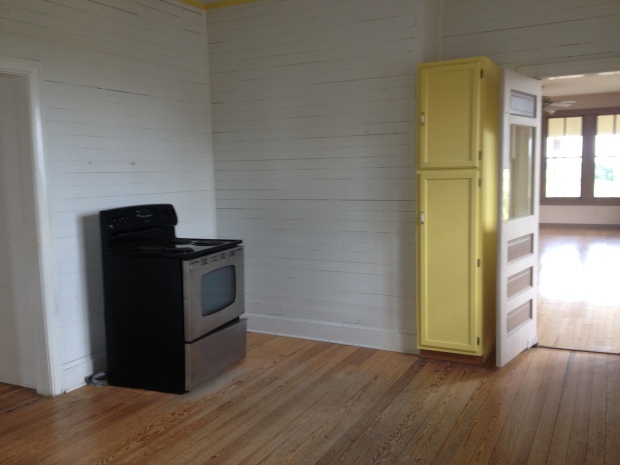
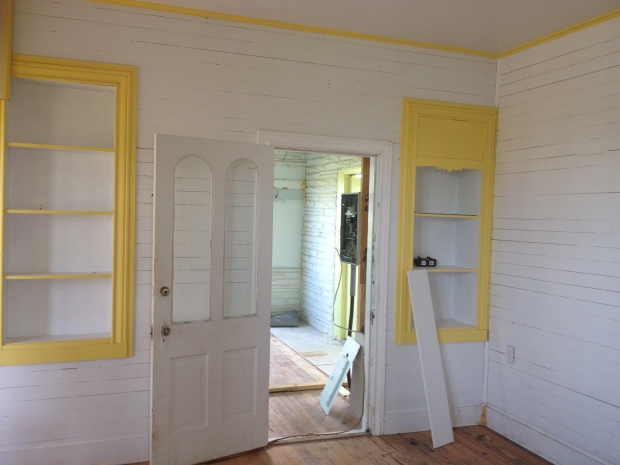
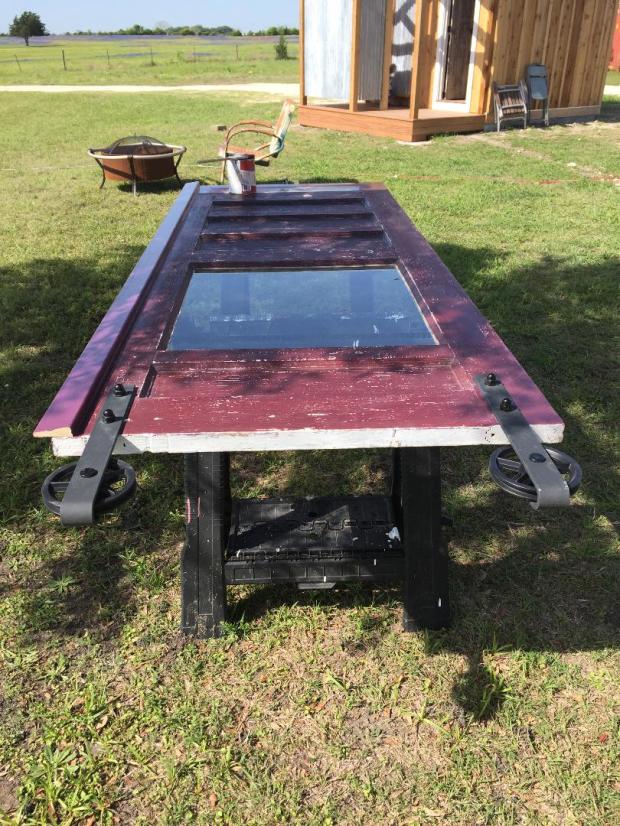
I will show this picture again, because we made so many changes here. The yellow cabinet is in our pole barn, but the wonderful swing door was repainted and put in our walk in pantry/storage room off the kitchen. The oven went to one of our work crews. So, everything found a new home.
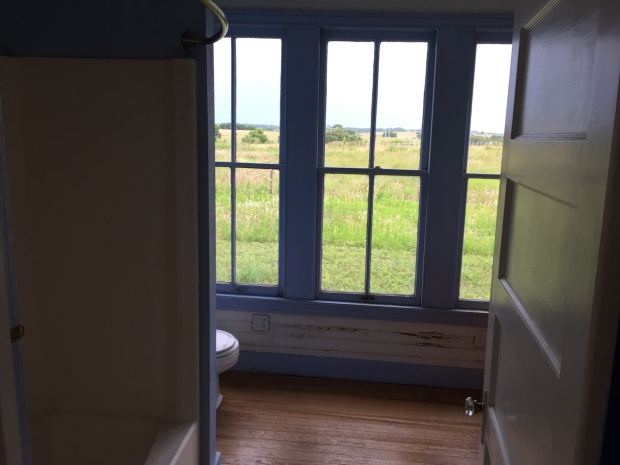
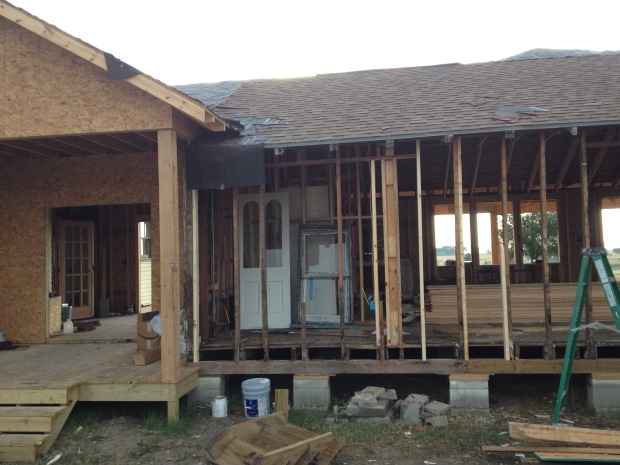
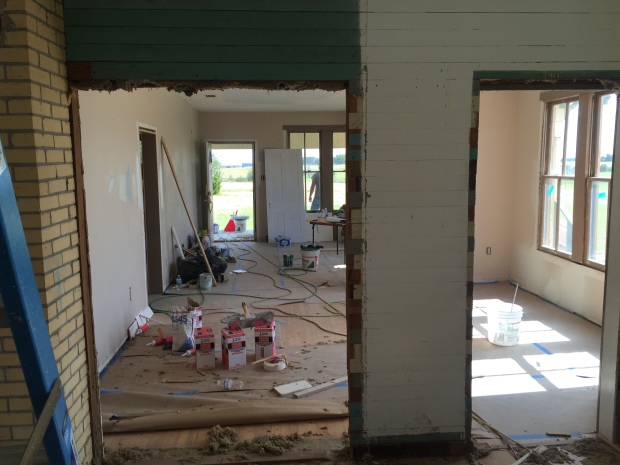
In the above picture, the doorway on the left, originally led to the master bath, the master and another bedroom. We closed it in and used the space for a large master shower and a deep cavity to push the fridge in to. It ended up being a great decision with a great use of space!
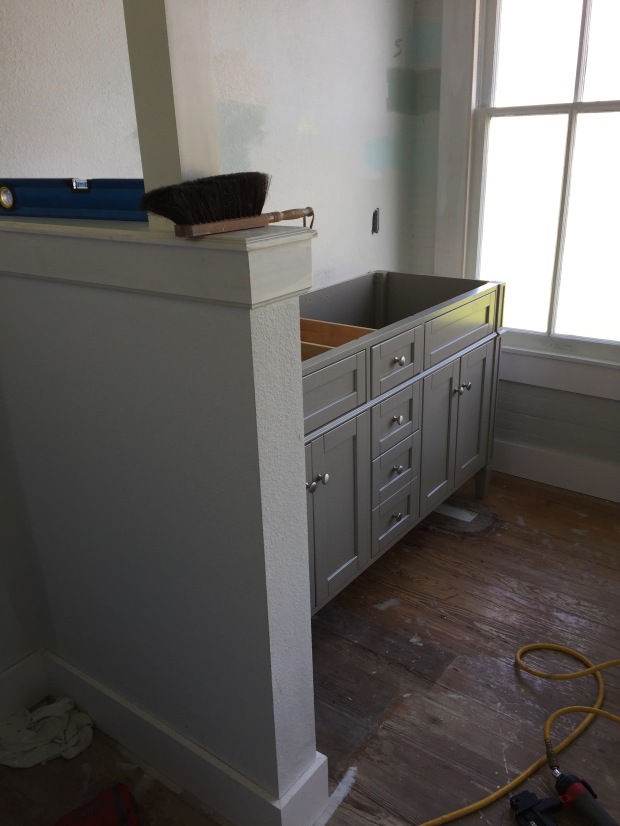
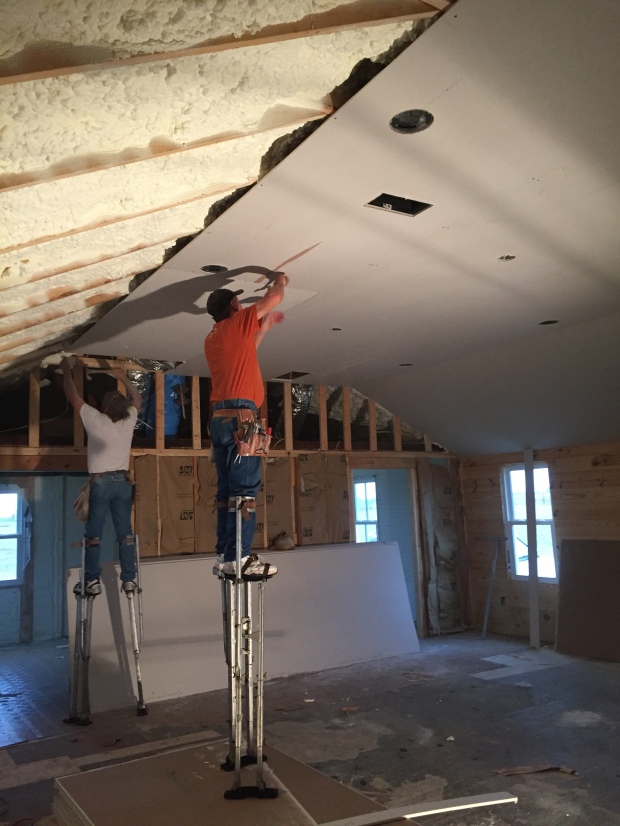
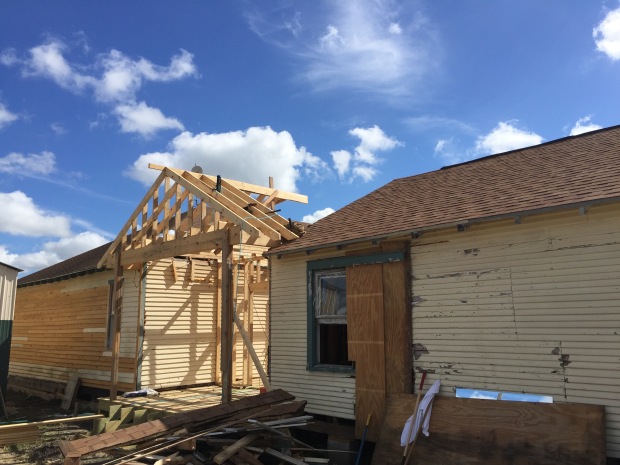
This is the opposite side of the kitchen. We had just started the demo and remodeling process in this picture. The circuit breaker box ended up being extremely difficult to relocate, so we left it. This door opening stayed, but we closed off the room to make a small utility closet. You can see the 2×4’s being placed to get ready for the new wall. The open area in the back is now our master closet and this super cute door is now our laundry room door. Unfortunately, the flooring in this room was vinyl, but it worked out great, because I put a heavy parquet vinyl floating floor over the top. Yes! I put it in! We also put the same flooring in the pantry/utility room, so we would have a safe place to close in our little pup if needed. I’ll show pictures at another post.
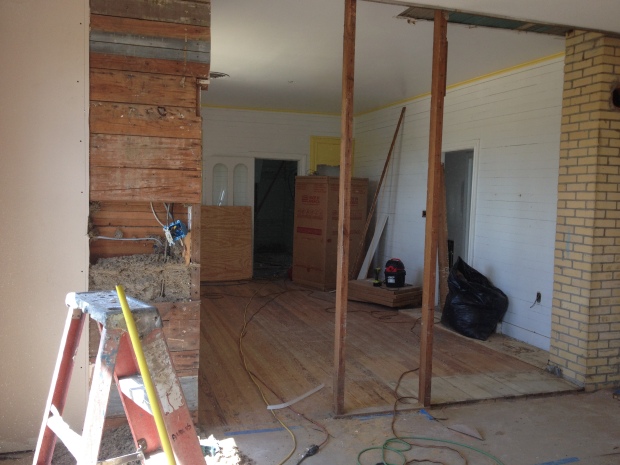
We ended up taking both built-ins out. The one on the left became a doorway into the pantry and the other one was taken out all together. I thought these were old until we looked at the materials used and realized they were made out of plywood and some particle board too. There wasn’t much to save from either of these.
I really struggled with taking this built in out. I have always loved built in anythings in older homes, but I am so glad we chose to open up this wall. We were going to open it up part way, but the more we looked at it, the more we knew this needed to be completely demoed. Hubby was sure that was the best way to go and he was right!
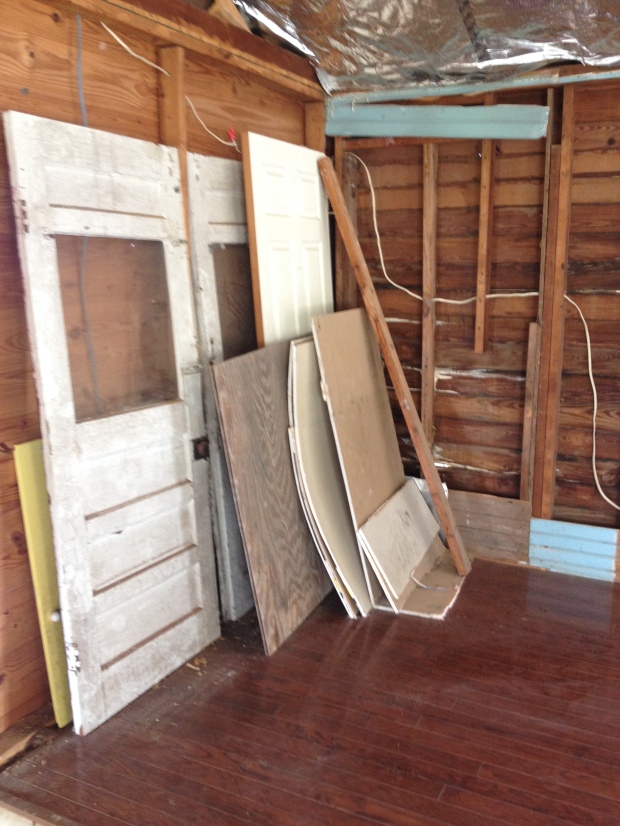
I saved all the doors and trim from this cabinet, just incase I got wonderfully inspired.
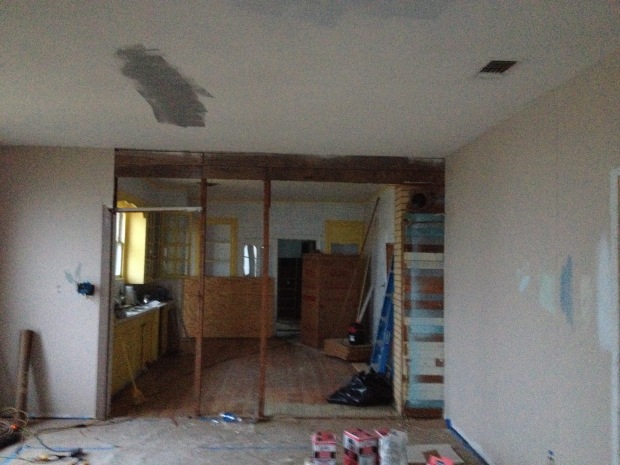
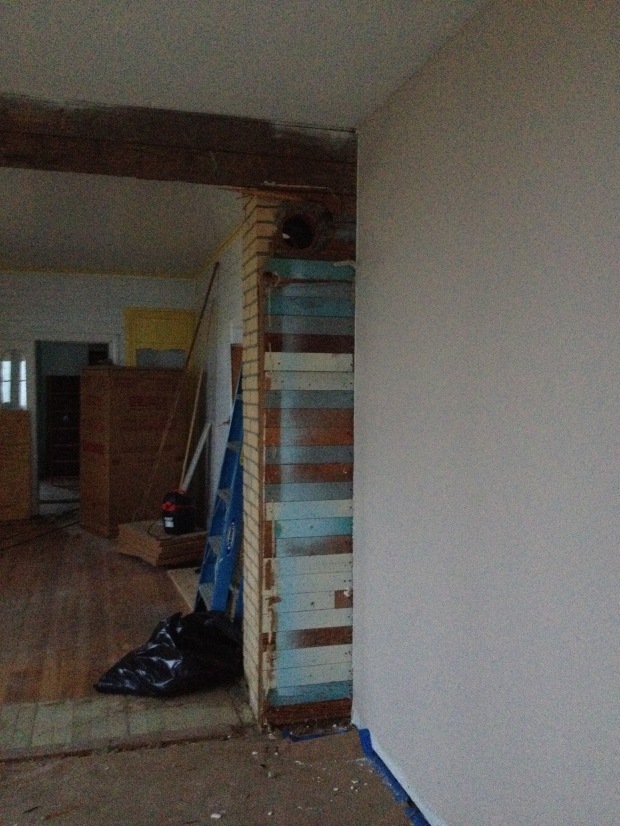
One of the most exciting things that happened in the demo, was finding this chimney. I was at work the day they took the wall down. Hubby told me they were going to tear the chimney down the next day! What?! So… I got up real early, picked up coffee, brought my Bible and sat on the front porch till the first crew came in. I was going to block the chimney demo with my body if I had to, that chimney was not coming down! 🙂
Needless to say – some of the foundation issues we had were explained with this chimney. It had been cut underneath and above, so we had no idea it was even there! It was a wonderful find. This chimney ended up adding so much character and texture to our kitchen. I love it! Such a wonderful find!
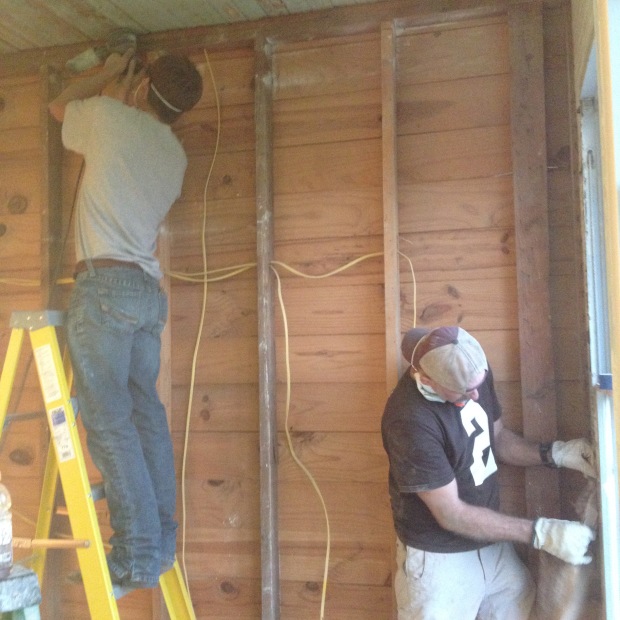
The next several pics are of more kitchen demo and changes.
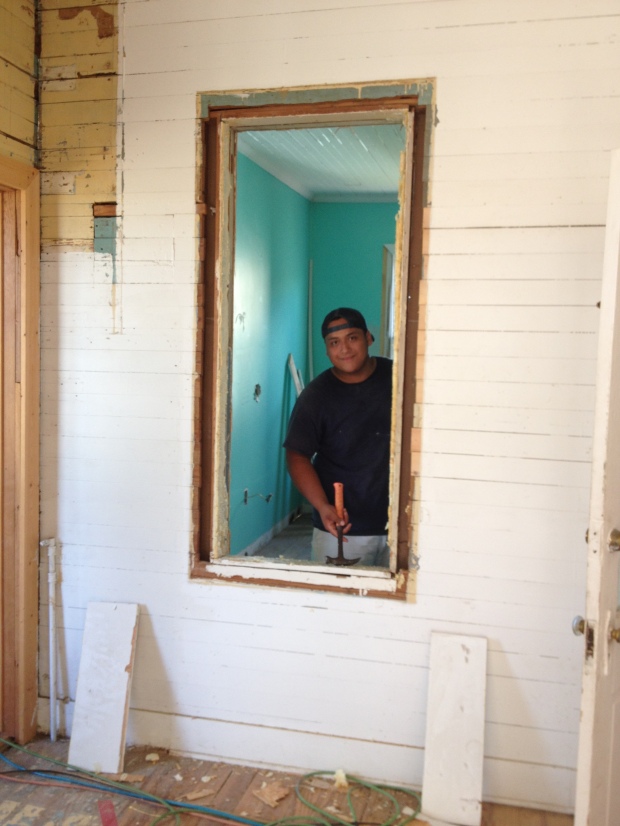
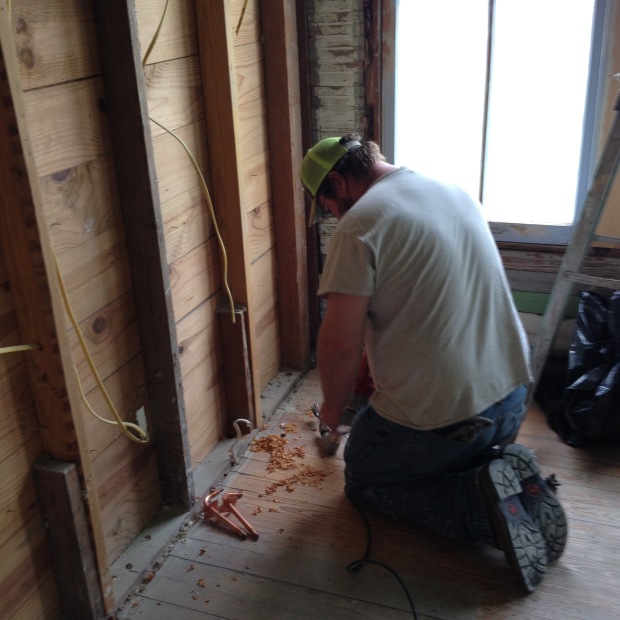
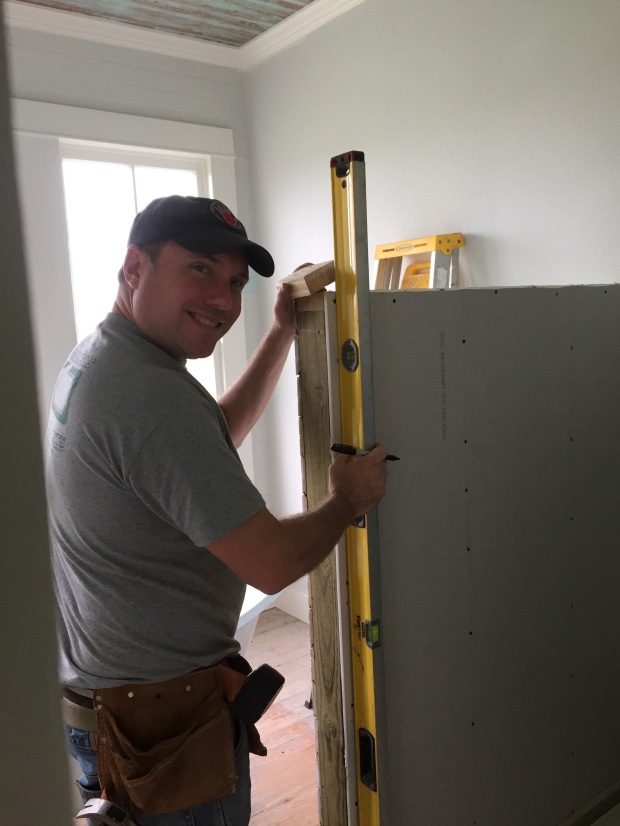
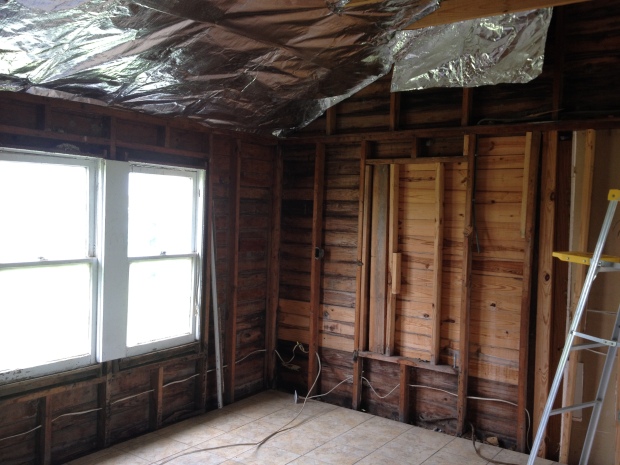
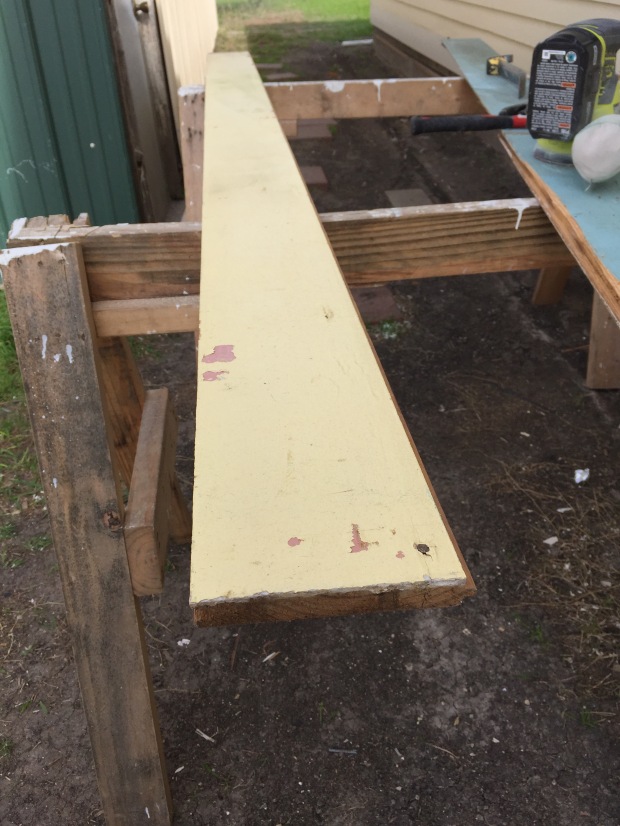
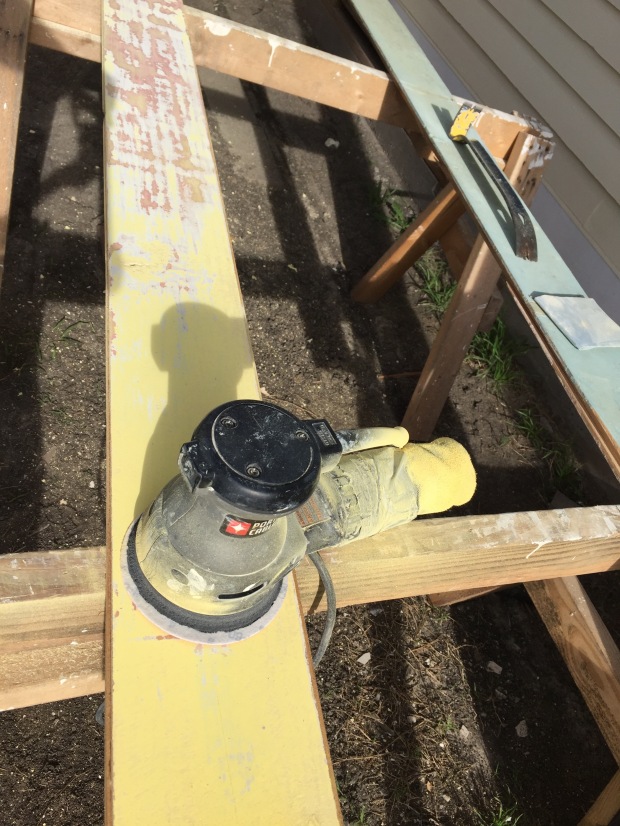
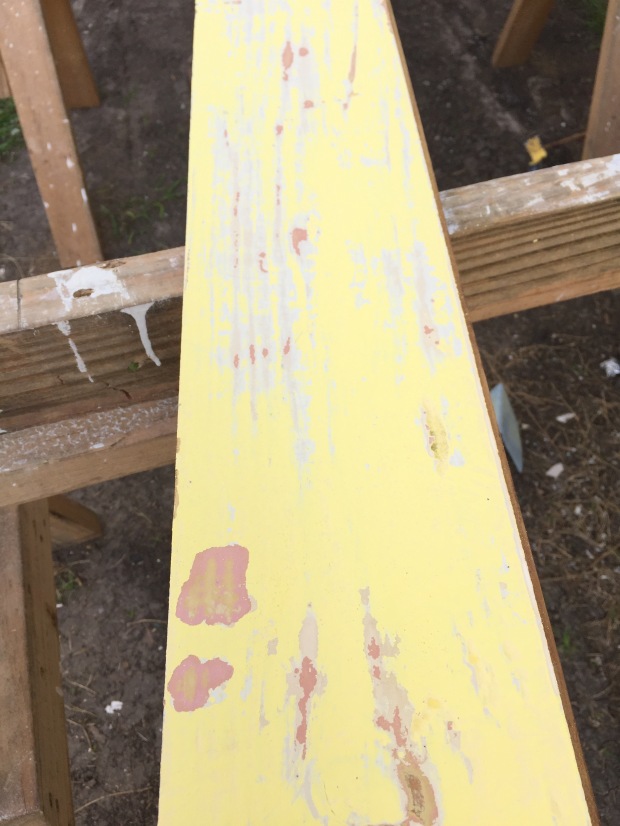
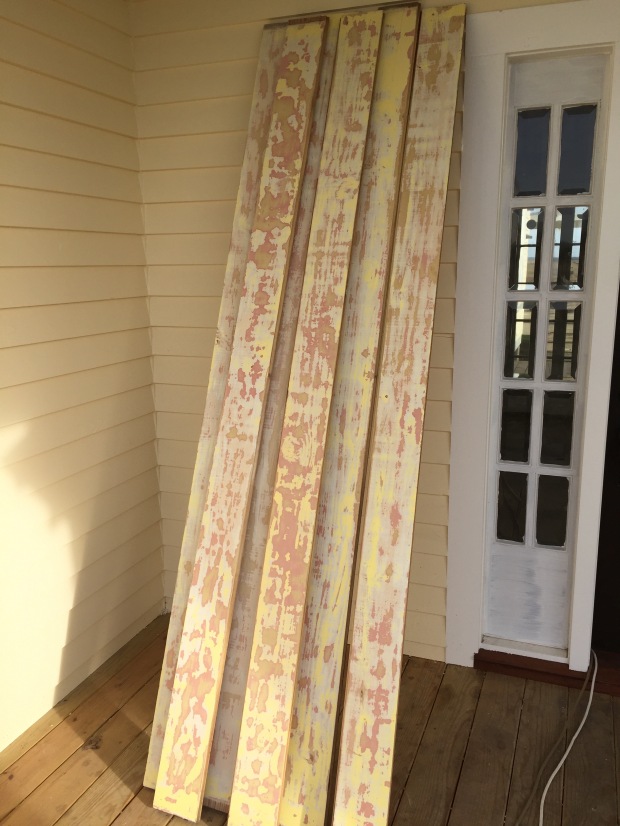
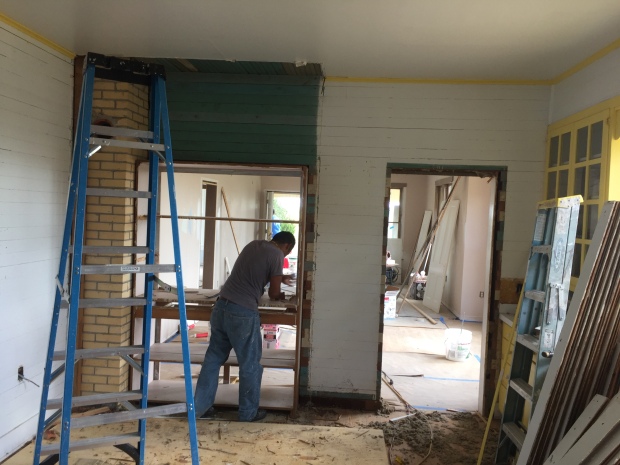
Adrian just took out the built in to open up this area up for a swing door. We saved all the salvageable wood that we tore out of the house. I am so glad we did! The laundry room wall that I sanded and sealed is made of boards originally from the kitchen. We also used boards from the kitchen to repair the pine floors.
In this picture, you can see that the pantry has a door opening now. Everything is opening up and moving forward.
I have got to be honest. I look at these pictures and my stomach cringes a bit. It was so much work. So much work. We hired a lot of people, but it was my full time job for quite awhile. So many decisions, so much work, patience, time and money.
This last picture is one more snapshot of our finished kitchen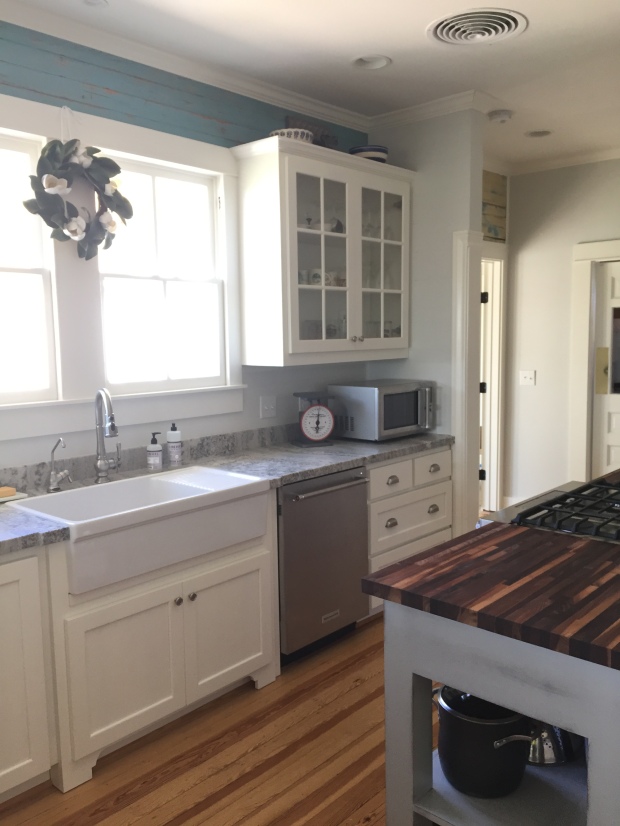
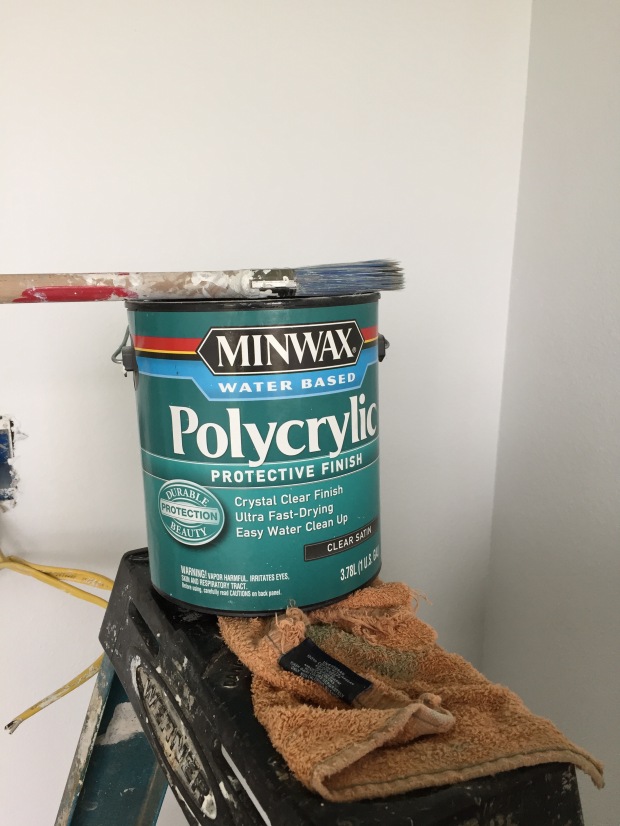
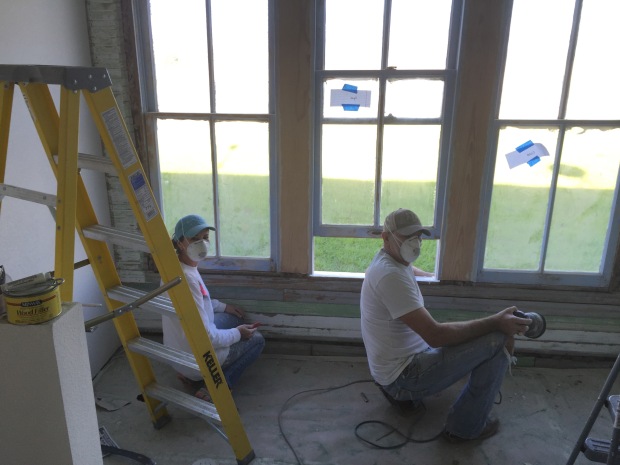
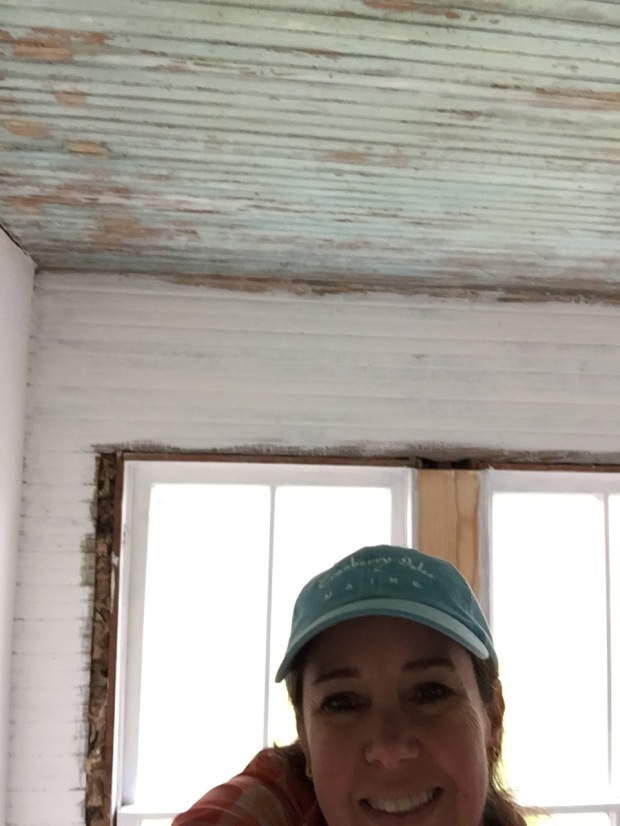
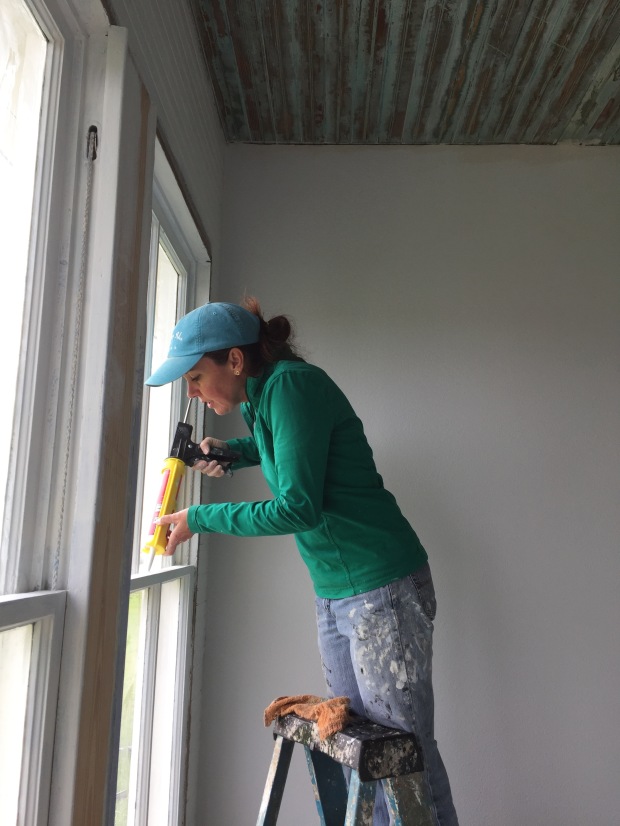
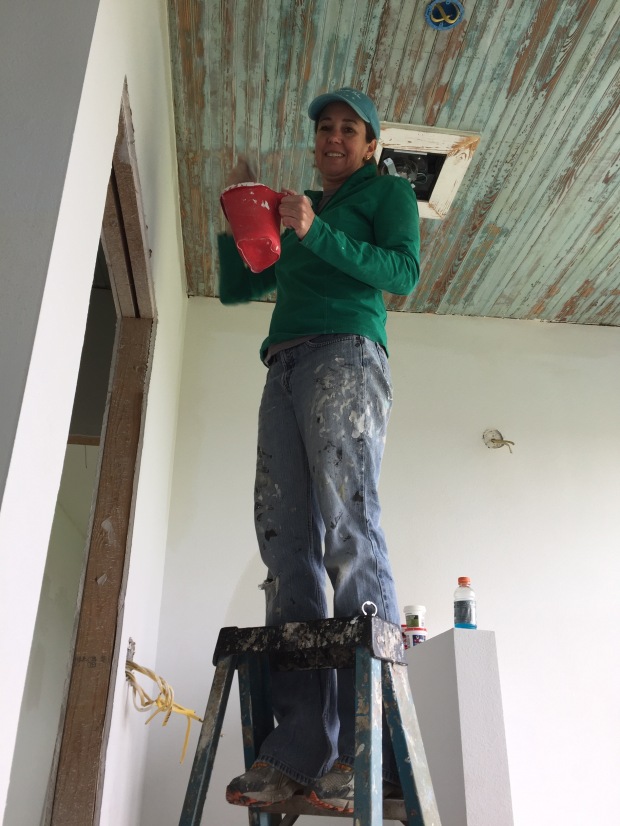
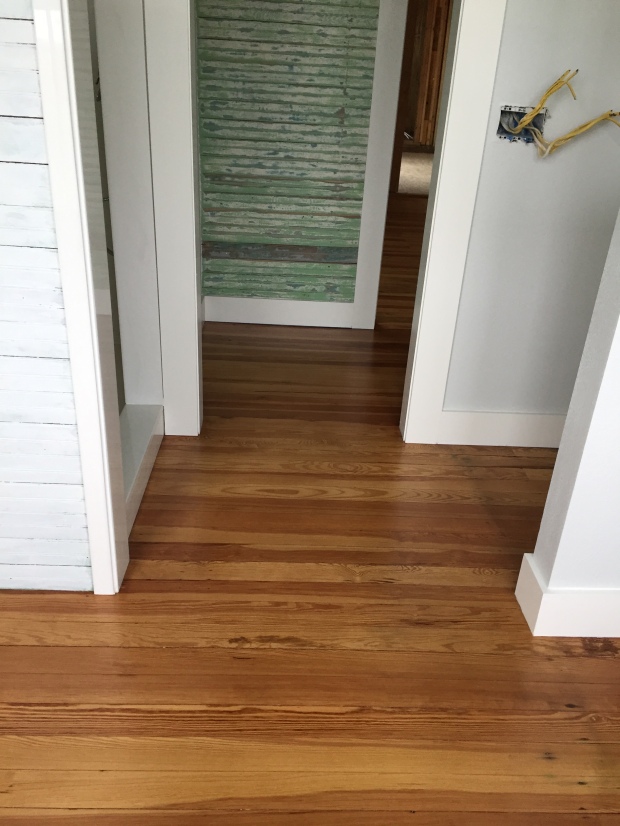
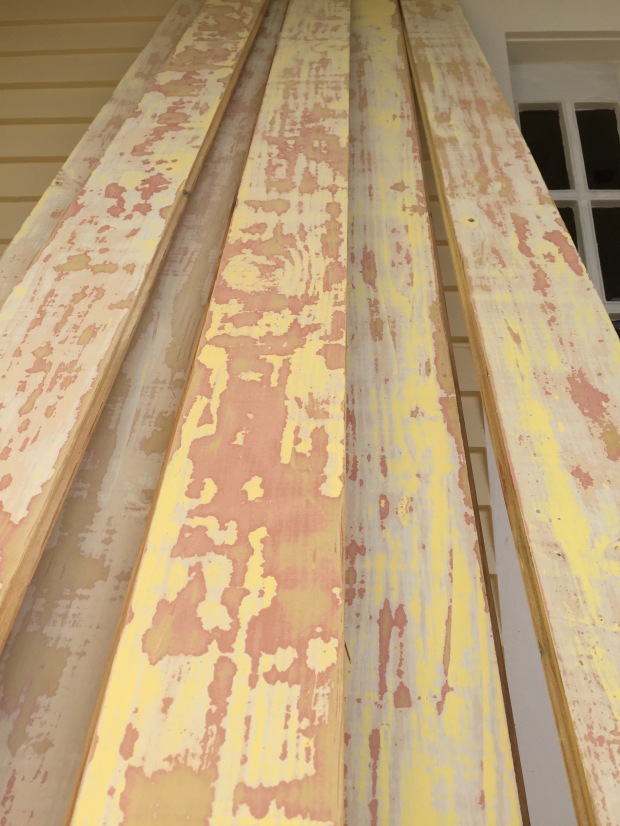
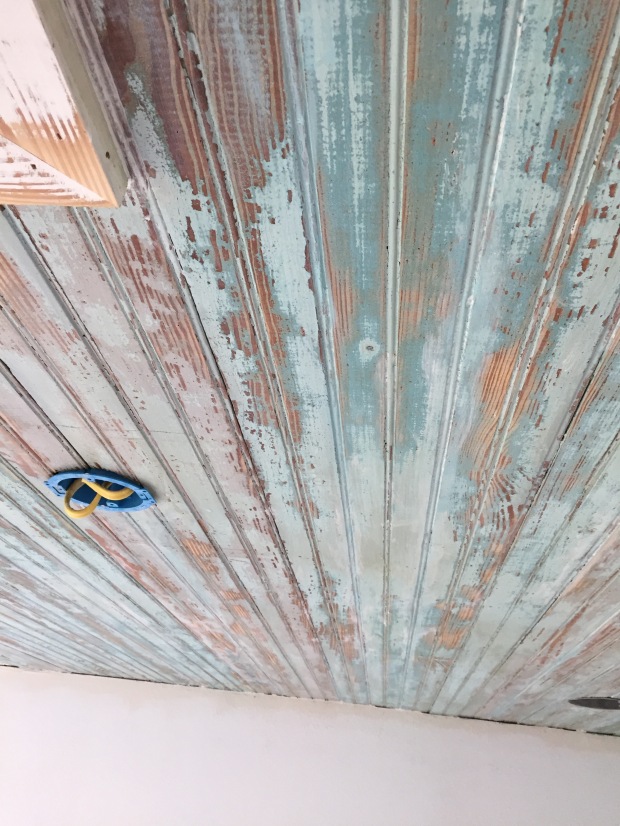
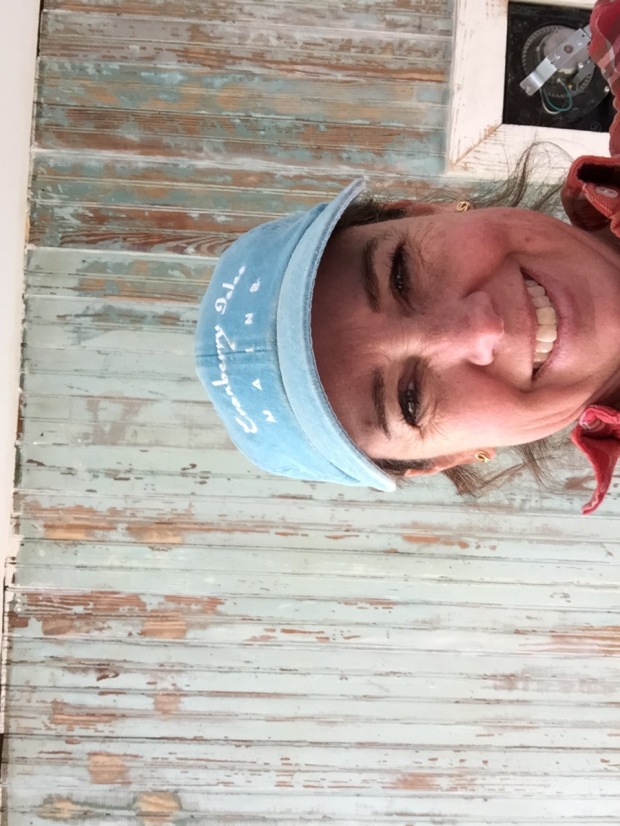
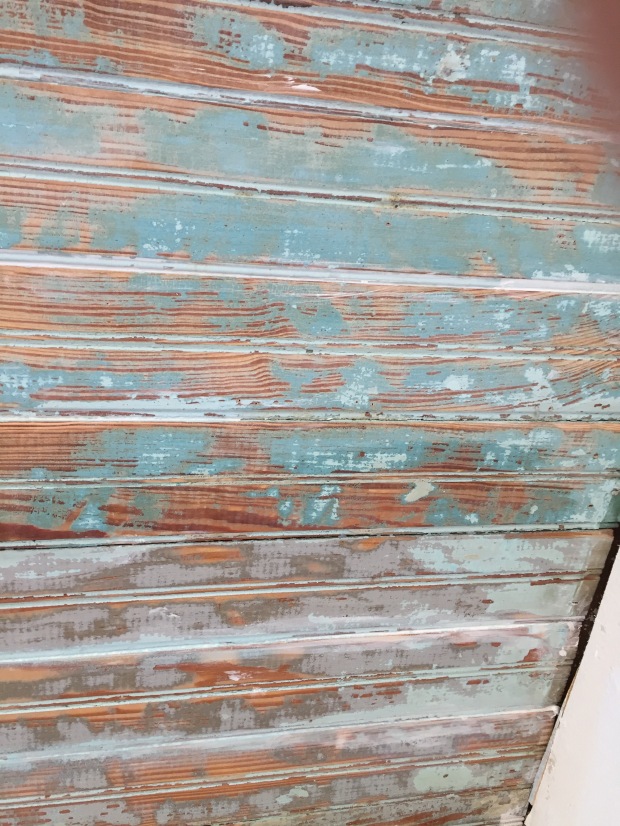
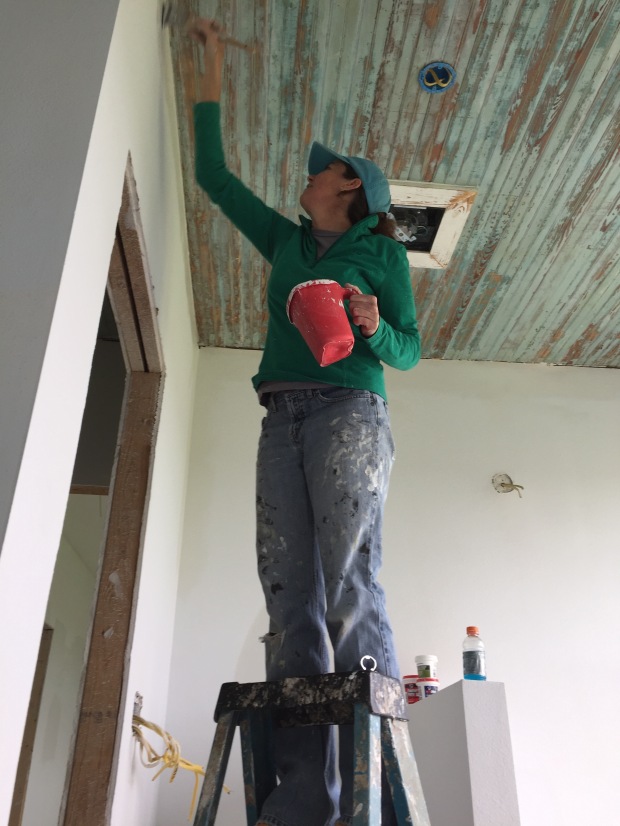
The beautiful color above the window and above the doorway are all original. Our friend Mark, sanded the area above the doorway. I sanded the turquoise above the sink and painted 2-3 coats of polyacrylic on each area. The amazing color we found in this house was wonderful. I am incredibly thankful to have had great help who were willing to sand down surface colors to see the beauty develop underneath.
More kitchen pics to come – sometime soon – I hope. 🙂


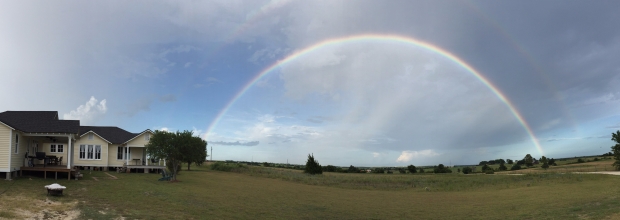 On a different note, I don’t think there is a day that goes by where I am not truly grateful for our home. Living in the country had been a little girls dream. I really wasn’t expecting it to happen – hoping at times, but not expecting. Then we found our little piece of Texas. Many times during the remodel, I thought – Am I going to survive this? – seriously – I did. Hubby was amazing, but God was even more amazing. He was with us through it all, even through the really tough stuff. He helped with all the details, and worked things out in unexpected ways. He brought us wonderful people to help us, encourage us, work with us and for us. It took a small village and a very big God to make this place our home. So thankful.